# Manage Agent
Add/Remove agent from vertical
*These steps are applicable for agent which is already added to the Vertical*
**Steps to Add/Remove agent from vertical:**
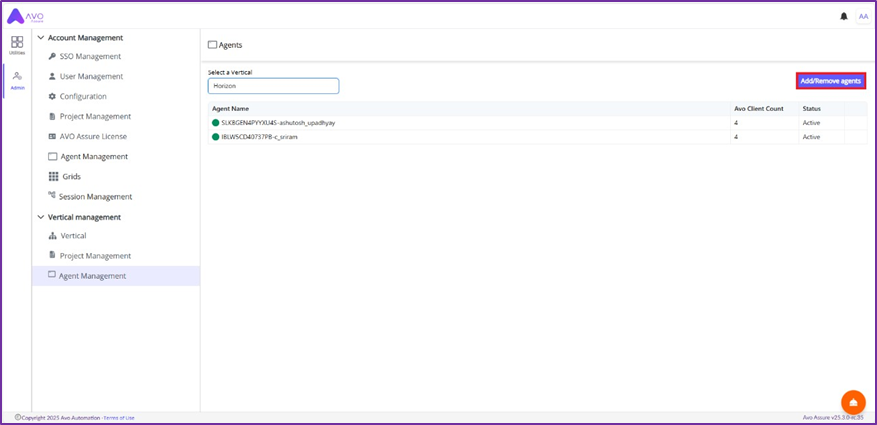
1. Navigate to Admin and select Agent Management from Vertical Management section.
2. Select Vertical from dropdown
3. Click Add/Remove Agent button to select and add the Agent
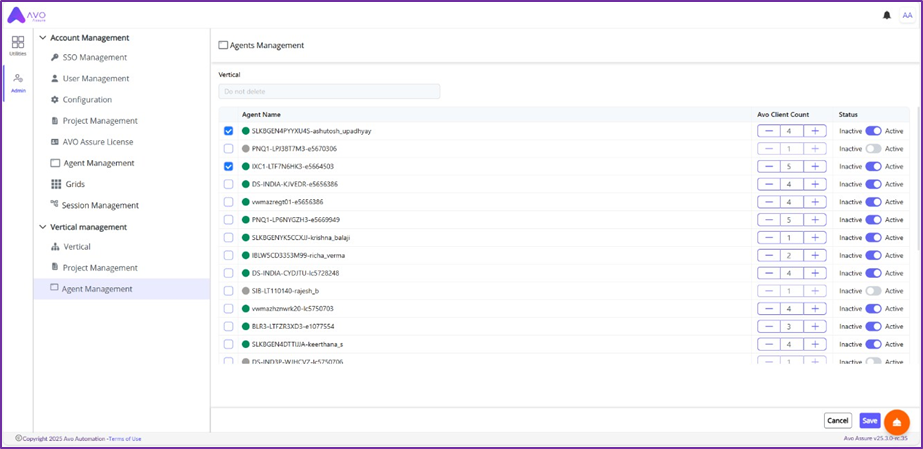
4. Select/Unselect the Agent and check active/inactive toggle button of the respective Agent *(Agent must be active)*
5. Click Save button
### Edit agent
*These steps are applicable for agent which is already added to the Vertical*
### **Steps to edit Agent:**
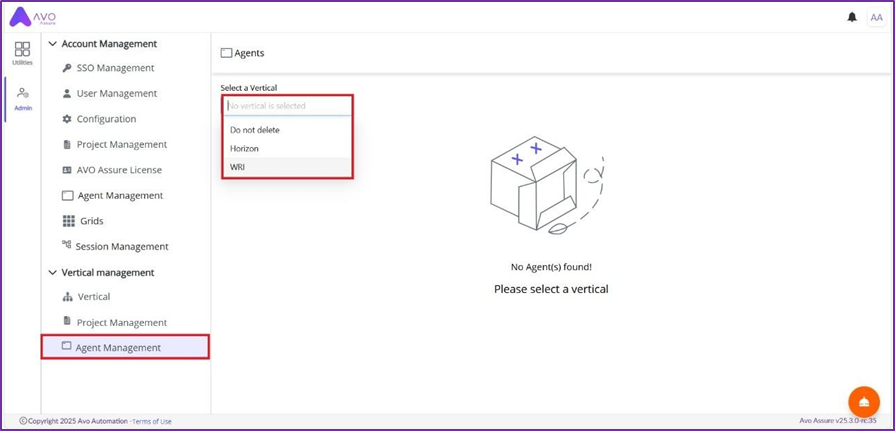
1. Navigate to Admin and select Agent Management from Vertical Management section.
2. Select Vertical from dropdown
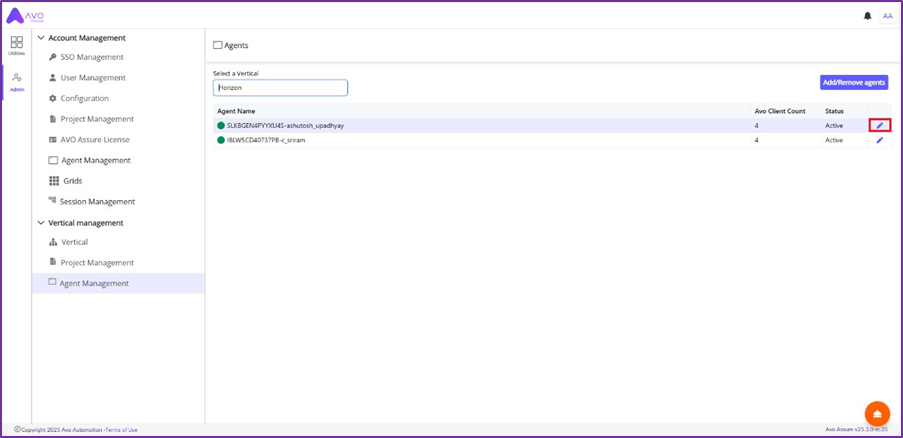
3\. Hover mouse to empty column and click edit icon
4\. Active/Inactive agent, Increase/Decrease the client number (According to requirement)
5. Click Save button
### Example:
In the screenshot above, the Ashutosh\_upadhyay agent is added to the Horizon vertical.
Therefore, when users from this vertical log into their Avo Assure account, they will have access only to this agent for execution. They won’t see any other agents, as none have been added to their specific vertical.